HTTPS Proxy
In this guide, we will show you how to set up your own HTTPS proxy server and configure Jan to use it.
Why HTTPS Proxy?
An HTTPS proxy helps you to maintain your privacy and security while still being able to browser the internet circumventing geographical restrictions.
Setting Up Your Own HTTPS Proxy Server
In this section, we will show you a high-level overview of how to set up your own HTTPS proxy server. This guide focus on using Squid as a popular and open-source proxy server software, but there are other software options you might consider based on your needs and preferences.
Step 1: Choosing a Server
Firstly, you need to choose a server to host your proxy server. We recommend using a cloud provider like Amazon AWS, Google Cloud, Microsoft Azure, Digital Ocean, etc. Ensure that your server has a public IP address and is accessible from the internet.
Step 2: Installing Squid
sudo apt-get update
sudo apt-get install squid
Step 3: Configure Squid for HTTPS
To enable HTTPS, you will need to configure Squid with SSL support.
- Generate SSL certificate
Squid requires an SSL certificate to be able to handle HTTPS traffic. You can generate a self-signed certificate or obtain one from a Certificate Authority (CA). For a self-signed certificate, you can use OpenSSL:
openssl req -new -newkey rsa:2048 -days 365 -nodes -x509 -keyout squid-proxy.pem -out squid-proxy.pem
- Configure Squid to use the SSL certificate: Edit the Squid configuration file
/etc/squid/squid.confto include the path to your SSL certificate and enable the HTTPS port:
http_port 3128 ssl-bump cert=/path/to/your/squid-proxy.pem
ssl_bump server-first all
ssl_bump bump all
- Enable SSL Bumping: To intercept HTTPS traffic, Squid uses a process called SSL Bumping. This process allows Squid to decrypt and re-encrypt HTTPS traffic. To enable SSL Bumping, ensure the
ssl_bumpdirectives are configured correctly in yoursquid.conffile.
Step 4 (Optional): Configure ACLs and Authentication
- Access Control Lists (ACLs): You can define rules to control who can access your proxy. This is done by editing the squid.conf file and defining ACLs:
acl allowed_ips src "/etc/squid/allowed_ips.txt"
http_access allow allowed_ips
- Authentication: If you want to add an authentication layer, Squid supports several authentication schemes. Basic authentication setup might look like this:
auth_param basic program /usr/lib/squid/basic_ncsa_auth /etc/squid/passwords
acl authenticated proxy_auth REQUIRED
http_access allow authenticated
Step 5: Restart and Test Your Proxy
After configuring, restart Squid to apply the changes:
sudo systemctl restart squid
To test, configure your browser or another client to use the proxy server with its IP address and port (default is 3128). Check if you can access the internet through your proxy.
Tips for Secure Your Proxy:
- Firewall rules: Ensure that only intended users or IP addresses can connect to your proxy server. This can be achieved by setting up appropriate firewall rules.
- Regular updates: Keep your server and proxy software updated to ensure that you are protected against known vulnerabilities.
- Monitoring and logging: Monitor your proxy server for unusual activity and enable logging to keep track of the traffic passing through your proxy.
Setting Up Jan to Use Your HTTPS Proxy
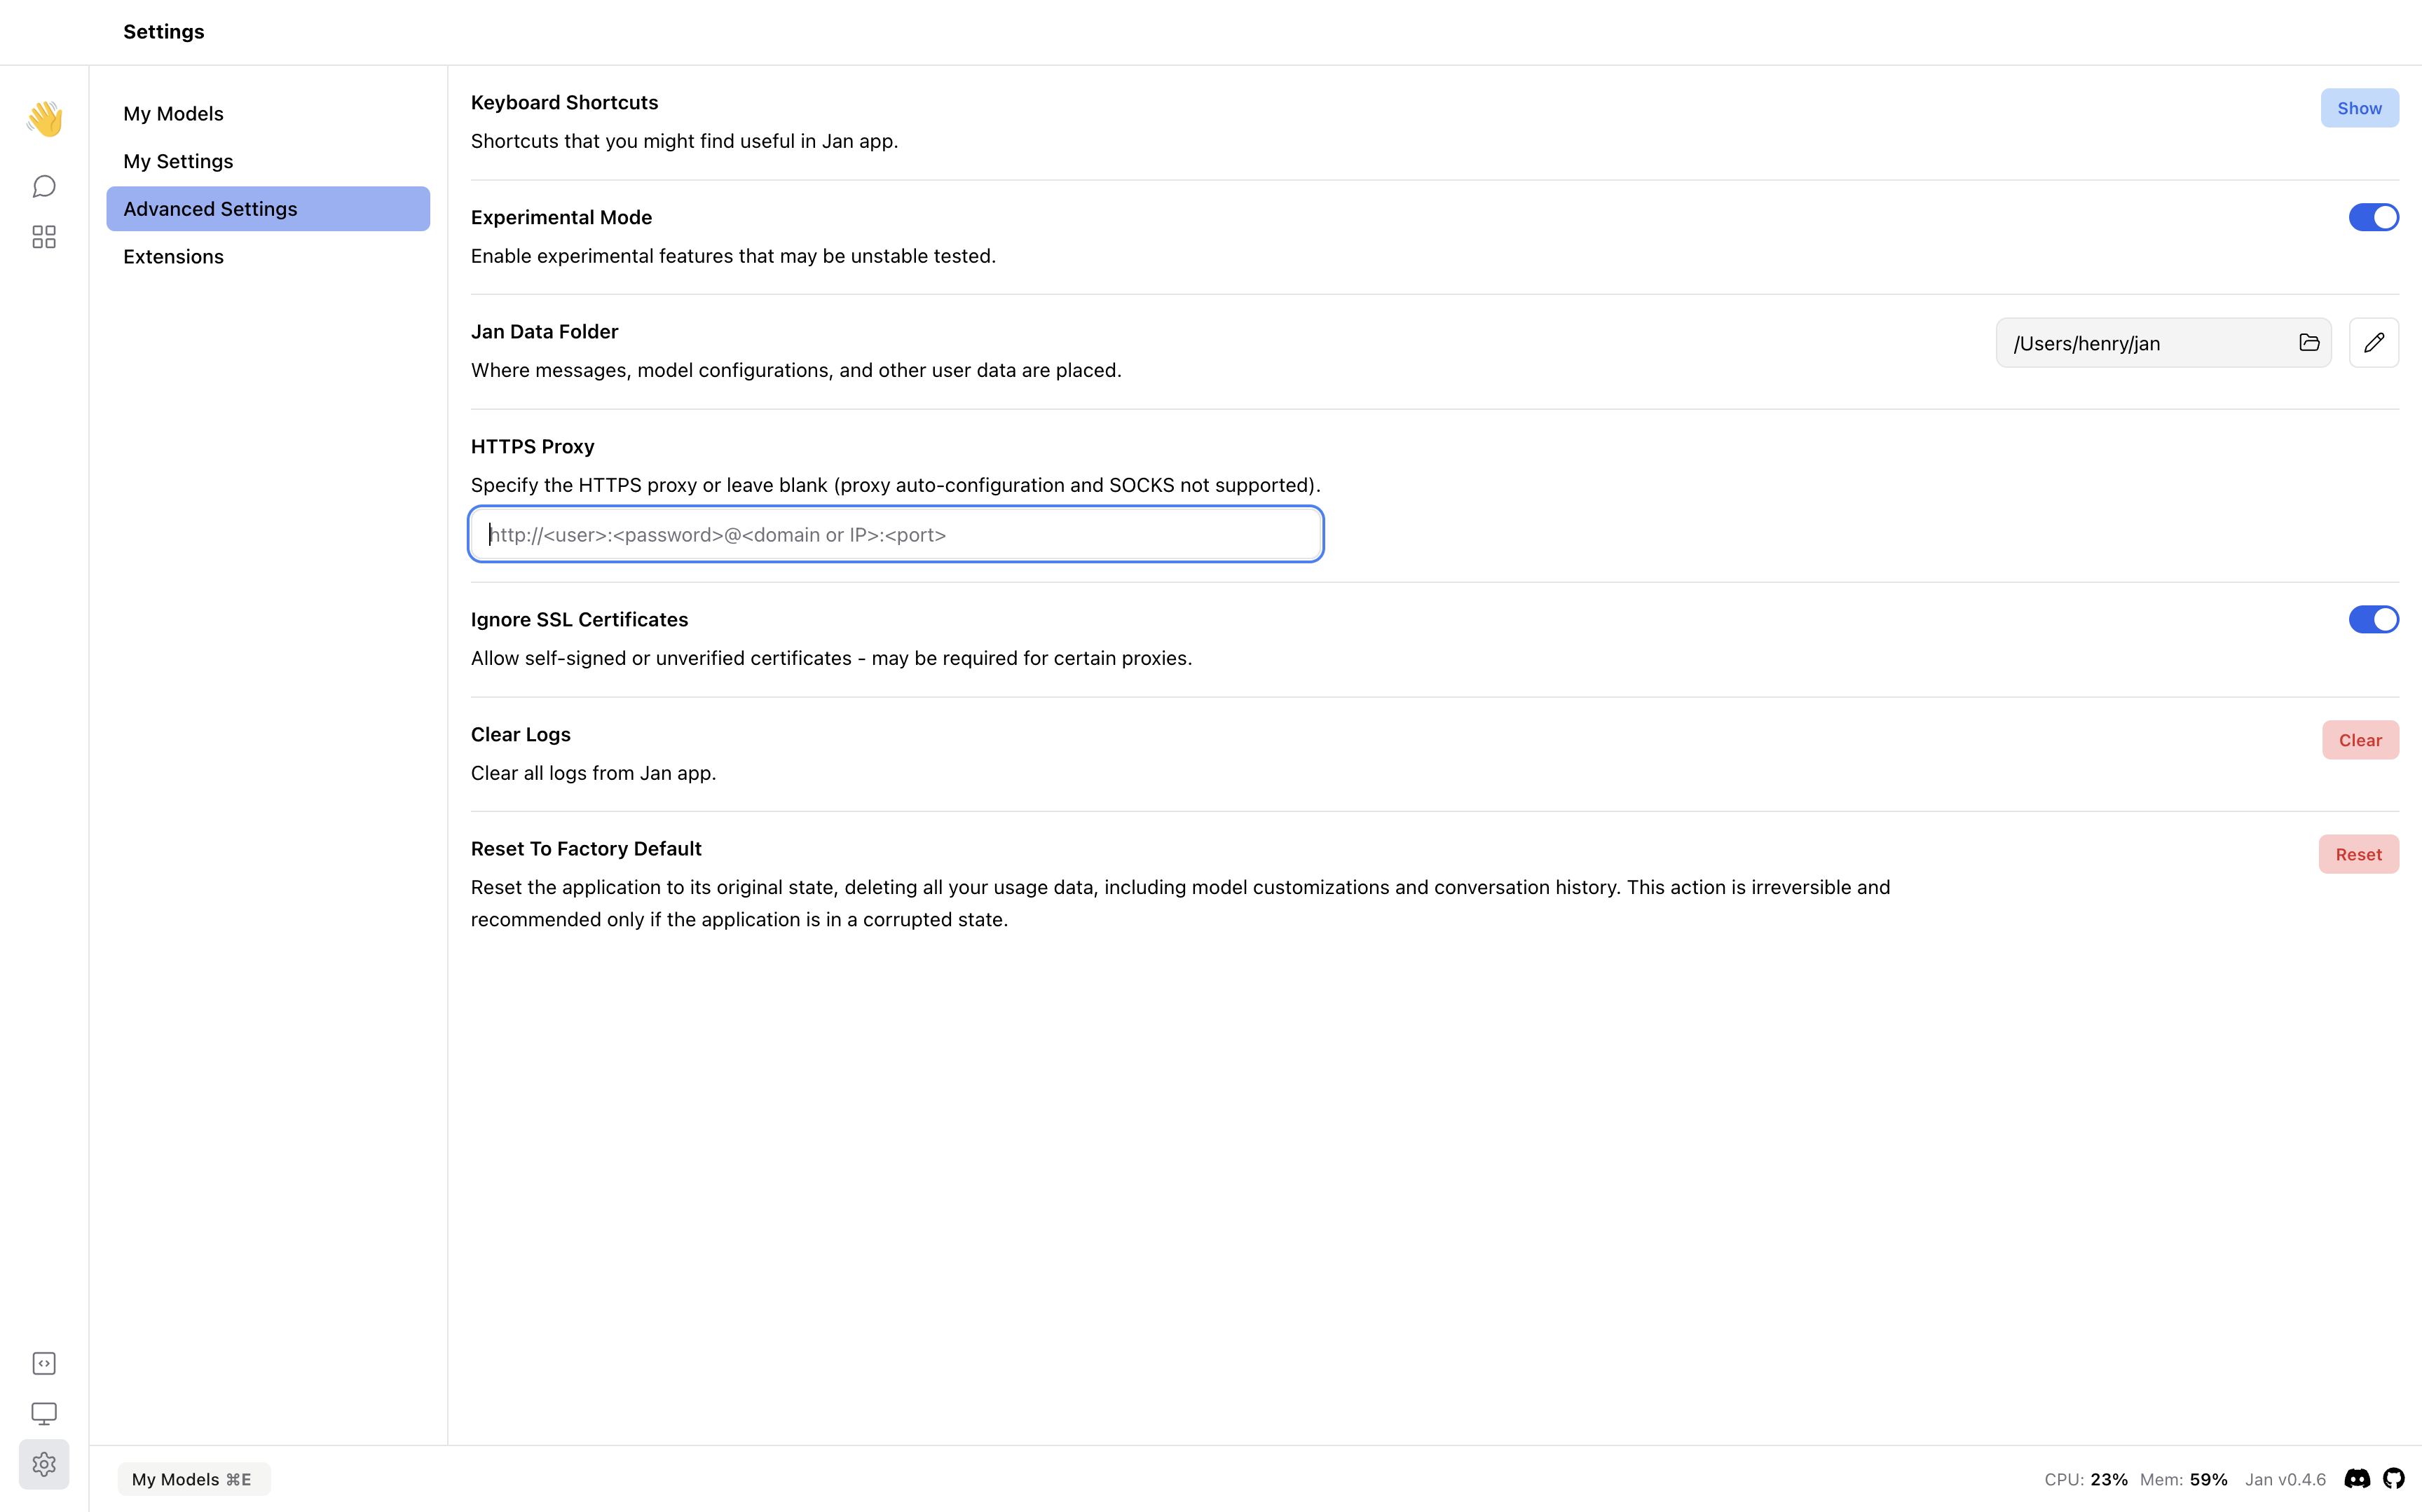
Once you have your HTTPS proxy server set up, you can configure Jan to use it. Navigate to Settings > Advanced Settings and specify the HTTPS proxy (proxy auto-configuration and SOCKS not supported).
You can turn on the feature Ignore SSL Certificates if you are using a self-signed certificate. This feature allows self-signed or unverified certificates.